Skip to content
Sharon Friedman – Vigilance and Tranquility
SCHOOL CREED
Contact us
A letter to my brothers in;arms
Classes in Israel
Free Online courses
Programs and products
ברוכים הבאים
movement patterns
אמנות לחימה ותנועה טבעית
Ground movement Alphabet
אמנות לחימה ותנועה;טבעית
The daily basics
Neural Density
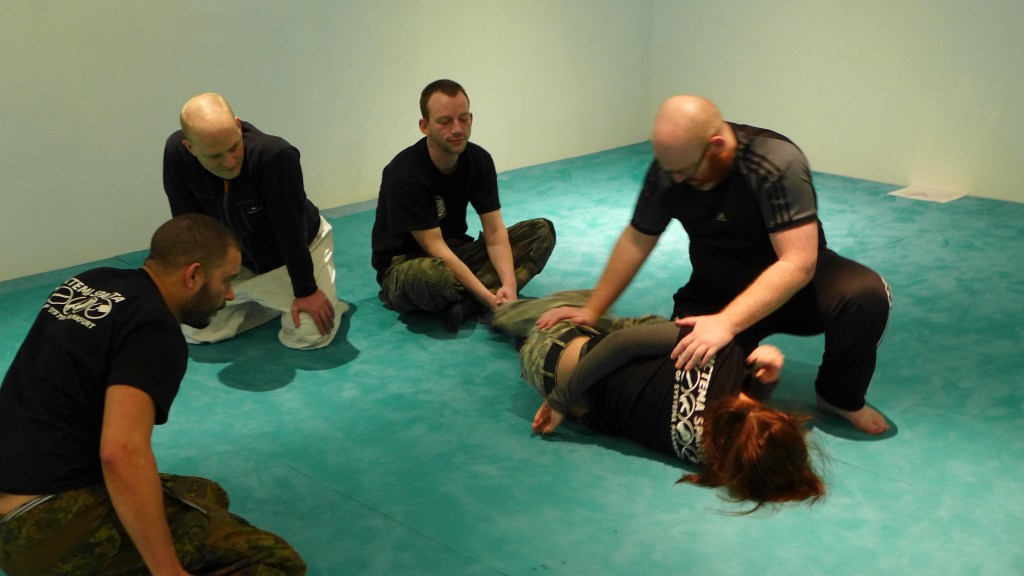
What we do in class
The stuff we carry
movement patterns
Ground movement Alphabet
Blog
List of posts
Questions and answers
The one potato;revolution
Home
Freedom
back
20/09/2018
Undoing the damage of sitting
29/10/2017
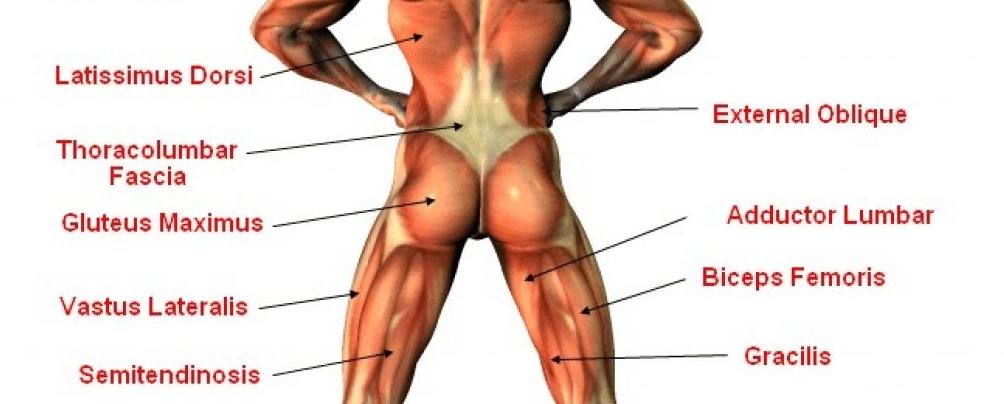
Building a strong balanced back
24/10/2017
Lower back health and tension release
17/09/2017
Notes from class: Spinal fluidity
18/07/2017
Notes from Class: Save your back
29/03/2017
Notes from class: Making choices
07/02/2017
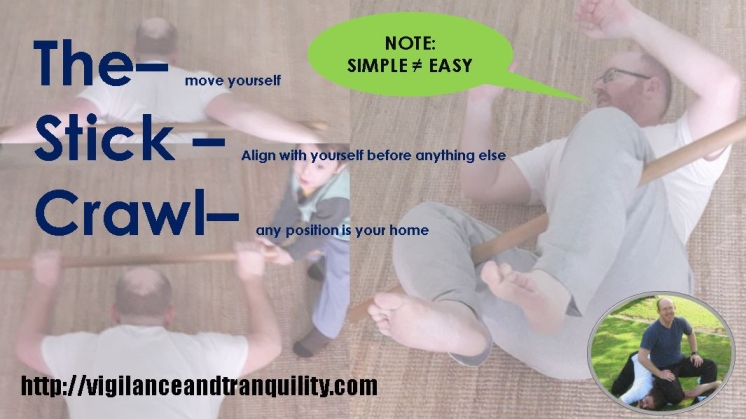
The stick crawl
12/01/2017
Avoiding lower back pain with daily natural movement
10/07/2015
Lower back tension release using the legs
Subscribe
Subscribed
Sharon Friedman - Vigilance and Tranquility
Join 175 other subscribers
Sign me up
Already have a WordPress.com account?
Log in now.
Sharon Friedman - Vigilance and Tranquility
Subscribe
Subscribed
Sign up
Log in
Report this content
View site in Reader
Manage subscriptions
Collapse this bar